It is vegetable garden season again, so for the next few weeks, I am going to go with one post a week here. One thing is for certain, I am never bored! In the midst of planting, I started some new sizes for my mini boxes, and I am once again working in color. Here is a view of a whole pile of sides to be embellished:
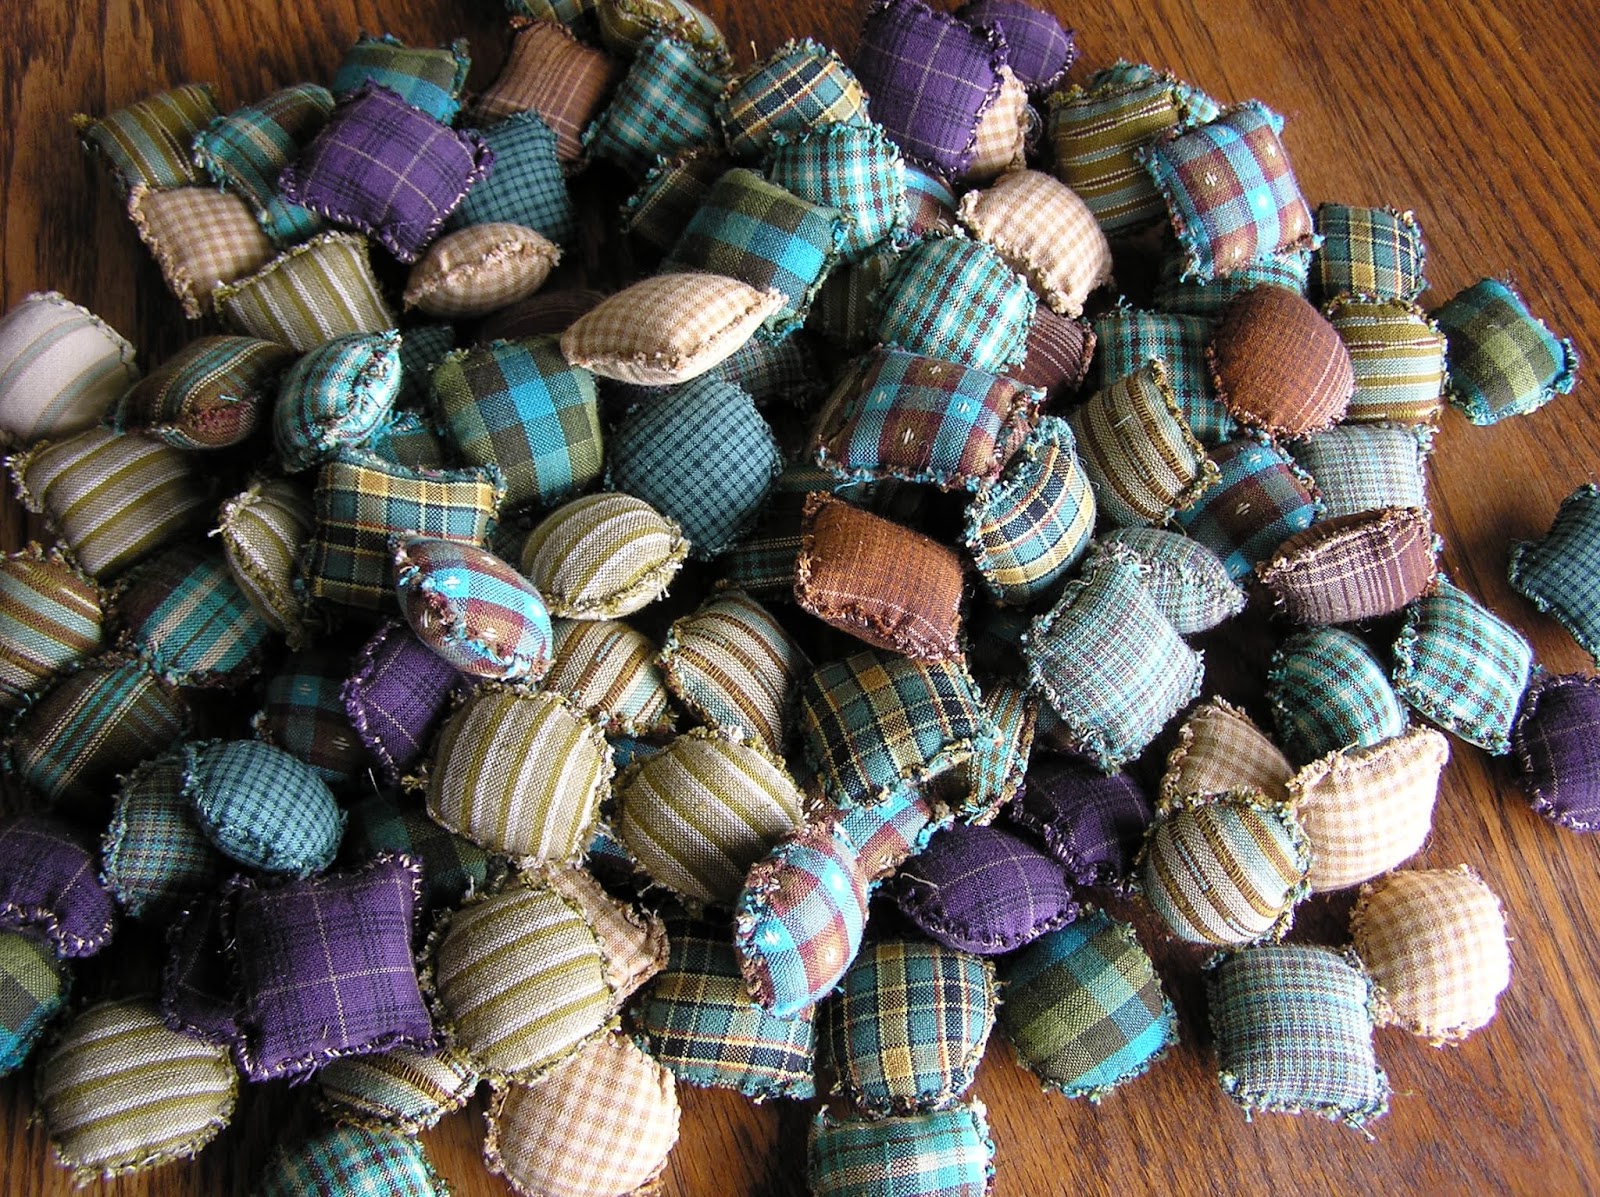
I have also been doing some spring cleaning, and I came across two zip bags full of 2" puffballs that I made a few years ago, with little idea of the final result.
The pastel ones are decorated with my early efforts in hand stitching. About two years ago, I took some of the pastel puffballs lined them up in a shallow, open fabric box. They looked like a surreal box of chocolate candies, a tribute to my days as a candy maker. I'd like to create some other oddball fabric sculptures with these crazy puffballs. To start, I think I will try putting a few in my mini boxes. I need to decide if I should stitch them in the boxes, or just set them in there, to be removed and replaced. I have no functional use in mind for the puffball stuffed boxes, just something fun to have around. Well, they do have a purpose, to make their owner smile. We all need things in our lives who sole purpose is to make us smile.
Showing posts with label fabric boxes. Show all posts
Tuesday, May 15, 2018
Thursday, April 19, 2018
Done!
It is finished:
Images and design copyright RPS
One of my many goals for this year is to finish more art work for competition, selling and project samples. So, now that I have finished this box. I'm on to the next one! I also want to finish a couple of 2-D collages that I started earlier this year, not to mention all the unfinished projects and series from the past few years... I'd better get busy! Next week I will profile one of these older projects.
Tuesday, April 17, 2018
Entry Deadline Looming...
I have made good progress with embellishing the sides of the box I posted about last week:
These pictures are from Sunday, I have added more embellishing. To
morrow I must zigzag stitch the sides together.
Images and design copyright RPS
These pictures are from Sunday, I have added more embellishing. To
morrow I must zigzag stitch the sides together.
Thursday, April 12, 2018
Waiting until the Last Minute
A very short post, as I am attempting to make something to submit to a statewide all-media art exhibit.
I have to have all of these pieces embellished by Tuesday, so check back then to see how far I get. This is in addition to vending at the Fredericktown Quilter's Market on Saturday! I'd better get stitching....
Tuesday, February 6, 2018
Slow Progress
I have been making slow progress in keeping up my New Year's resolution to make more stuff. One of my goals for some time has been to make various sizes of my fabric boxes. A couple of years ago I made many 2 inch cube boxes and a few large ones in the range of 4X6X4" and 3X5X3." Finally over the past week, I cut sides for 3 inch cubes and 2X3X2 boxes. I have a lot of fun embellishing the box sides in a variety of surface design techniques. When I start a run of new box sizes, I first make a bunch in a blend of neutrals - black, white, grays and tans. Here are the sides for the new sizes, embellished and sorted, ready to start zigzagging together.
I've discussed in an early post about how my fascination with boxes came in part from John Steinbeck's dedication to his East of Eden. Another source of inspiration for my boxes comes from abandoned buildings. Yes, run down, crumbling old buildings.
My boxes are made up of fabric scraps from other projects, capturing the patched together look of some dilapidated houses. As I stitch the sides of my smaller boxes together, the action of pinching the sides together causes the box to undergo some shifting and warping. This is a good thing, it gives the box more character and adds to the visual interest of the piece. Even the house that I live in, built in 1994, has parts that have swayed and shifted. This is what I want to capture in my little boxes - the natural, slow process of physical aging of an inanimate structure. Of course, all of us get bumps, sags and wrinkles as we age, so the inevitable wear that these boxes show over time simply reflects us as well.
My little fabric boxes are mostly decorative, but they could of course be used to hold, as Steinbeck put it, "whatever you have."
I've discussed in an early post about how my fascination with boxes came in part from John Steinbeck's dedication to his East of Eden. Another source of inspiration for my boxes comes from abandoned buildings. Yes, run down, crumbling old buildings.
My boxes are made up of fabric scraps from other projects, capturing the patched together look of some dilapidated houses. As I stitch the sides of my smaller boxes together, the action of pinching the sides together causes the box to undergo some shifting and warping. This is a good thing, it gives the box more character and adds to the visual interest of the piece. Even the house that I live in, built in 1994, has parts that have swayed and shifted. This is what I want to capture in my little boxes - the natural, slow process of physical aging of an inanimate structure. Of course, all of us get bumps, sags and wrinkles as we age, so the inevitable wear that these boxes show over time simply reflects us as well.
Image and designs copyright RPS
My little fabric boxes are mostly decorative, but they could of course be used to hold, as Steinbeck put it, "whatever you have."
Thursday, September 29, 2016
Inspiration in a Meadow
I often get asked the question, "Where do you get ideas for your art work?" For me, the answer is: everywhere, in almost anything! I have too many ideas, and not enough lifetime, I'm sure. If you are searching for ideas, scale things back - start by considering only one design aspect. For example, look at color. Decide on a color blend, and then choose a pattern or move forward with creating a composition.
This time of year, the meadows around my home are full of feathery goldenrod and deep purple asters in bloom.
Purple and yellow are direct complements of each other on the color wheel, making them fun to work with in design exploration. Last winter, I had the goldenrod and aster in mind when I made these three crazy patch square boxes:
The flowers really are not referenced in the embellishing, I simply wanted to capture the colors. Even without recognizable images of the flowers that inspired me, I am still reminded of my lovely autumn meadow each time I see the boxes.
Thursday, July 7, 2016
Product and Process: What it Takes to Create
I have my first outdoor art fair this Saturday, so I though that this would be a good time to discuss my fabric boxes a bit more. I tend to work on the boxes in an assembly-line fashion, so I have had very little notion of the time it takes to make one box, start to finish. A couple of weeks ago, I set aside a day to find out this mystery of time.
Earlier in the spring, I managed to find myself the new owner of these worn out vintage garments:
This pile of rags became the starting point for my time trial box. I cut and pieced a 6" crazy quilt square from the clothes, using Creative Grids templates. Next, I fused a lightweight stabilizer to the back, and embellished the crazy quilt square. This square became the top of the box lid.
Next, I cut the garments into chunks of sew-able fabric, and pieced them using Pat Pauly's improvisational piecing method.
Once I had a large enough section from all of the bits, I could then cut the sides of the box. I use Timtex or Fast to Fuse as the foundation for my box pieces, and I fuse fabric to both sides.
Once all the box pieces were measured many times and (hopefully) cut once, it was time to start zigzag stitching them together. Then, I zigzagged around all the edges. Finally, the last step was pulling up the sides and joining them by hand, whip stitching with sturdy perle cotton thread.
Earlier in the spring, I managed to find myself the new owner of these worn out vintage garments:
This pile of rags became the starting point for my time trial box. I cut and pieced a 6" crazy quilt square from the clothes, using Creative Grids templates. Next, I fused a lightweight stabilizer to the back, and embellished the crazy quilt square. This square became the top of the box lid.
Next, I cut the garments into chunks of sew-able fabric, and pieced them using Pat Pauly's improvisational piecing method.
Once I had a large enough section from all of the bits, I could then cut the sides of the box. I use Timtex or Fast to Fuse as the foundation for my box pieces, and I fuse fabric to both sides.
Once all the box pieces were measured many times and (hopefully) cut once, it was time to start zigzag stitching them together. Then, I zigzagged around all the edges. Finally, the last step was pulling up the sides and joining them by hand, whip stitching with sturdy perle cotton thread.
All images copyright RPS, please do not post elsewhere
From start to finish, this box took five and a half hours to make. Tuesday, March 29, 2016
Who are your influences?
In the movie The Commitments, the main character
tries to assemble an R&B band, and he weeds out the applicants with one
very simple question, “who are your influences?” Regardless of the subject; music, art or
anything else; the answers to that question tell a lot about the respondent. This is the first in what will probably be a
long periodic series on the influences on my textile art, not only who, but
what as well.
image and designs copyright 2016 RPS
Today’s influence could really be called more of an
inspiration, but I suppose I’m splitting hairs on definitions. Back in college, I got around to reading East
of Eden by John Steinbeck. The
dedication ended up inspiring me and influencing my artwork:
Pascal Covici
Dear Pat,
You came upon me carving some
kind of little figure out of wood and you said, “Why don’t you make something
for me?”
I asked you what you wanted, and you said, “A box.”
“What for?”
“To put things in.”
“What things?”
“Whatever you have,” you said.
Well, here’s your box. Nearly everything I have is in it, and it is
not full. Pain and excitement are in it,
and feeling good or bad and evil thoughts and good thoughts – the pleasure of
design and some despair and the indescribable joy of creation.
And on top of these are all the gratitude and love I
have for you.
And still the box is not full.
Pascal Covici was Steinbeck’s
publisher and friend, and Steinbeck had carved a wooden box for the East of
Eden manuscript. This dedication
struck a chord with me. I love the idea
of a box being symbolic for greater things, a container representing so much
more than what could be put in it physically.
At the time I read the book, I was absorbed in
my ceramics classes, and I started to make clay boxes. I thought about decorating the insides as
much as the outsides.
I started to collect antique
boxes, and continue to collect.
image copyright 2016 RPS
Now that I am into art quilts
and textile art, I am making fabric boxes, and indeed, I still embellish the
insides of the boxes, reflecting the outside decoration.
The box form lends itself to
so many variants, and I don’t think that I will ever run out of ideas for
them. I cannot make them fast enough to
keep up with the ideas in my head. As I
hit the art fair circuit soon, I hope others will take delight my treasure
boxes.
Monday, March 7, 2016
First Outdoor Art Fair
I know that this is a bit far in advance, but I am excited to announce that I have a space at Art on the Hill on July 9, 2016 in Mantua, Ohio. This will be my first venture in selling finished art at an event. Now I need to get a pop-up tent, make a sign, and figure out how to display my wares. July will be here before I know it!
I'm working on a whole lot of my fabric boxes for this. I will also have some 2-D wall hangings and I will take a small selection of hand-dyed fabric.
I'm sure the next few months will be full of adventures in the prep for this event, so check back to see what sort of trouble I've gotten into!
I'm working on a whole lot of my fabric boxes for this. I will also have some 2-D wall hangings and I will take a small selection of hand-dyed fabric.
I'm sure the next few months will be full of adventures in the prep for this event, so check back to see what sort of trouble I've gotten into!
Subscribe to:
Posts (Atom)